Your home’s windows are more than just glass and frames, they’re a barrier against weather, noise, and energy loss. Over time, window frames deteriorate from sun exposure, moisture, and temperature swings, leading to drafts, air leaks, and higher heating and cooling bills. Whether you’re dealing with rotted wood, failed seals, or simply outdated frames, understanding when and how to replace them can save you thousands in energy costs and prevent water damage. This guide walks you through the signs that replacement is necessary, the material options available, and whether you should tackle full frame window replacement yourself or hire a professional for the job.
Table of Contents
ToggleKey Takeaways
- Window frame replacement becomes necessary when visible rot, failed seals, drafts, or structural damage appear, as temporary fixes won’t address underlying moisture and decay issues.
- Modern replacement windows with low-emissivity glass and insulated frames can reduce heating and cooling costs by 10–30%, with payback periods of 7–10 years in colder climates.
- Vinyl frames offer the best value for most homeowners with 20–30 year lifespans, while wood provides superior aesthetics and insulation but requires ongoing maintenance, and fiberglass delivers the highest performance for demanding climates.
- A full window frame replacement requires precise measuring, proper flashing, careful shimming, and quality caulking; mistakes in installation lead to costly water intrusion and drafts that may outweigh DIY savings.
- Professional installation protects your investment through warranty coverage, liability insurance, and expertise in handling unexpected structural issues, making it often worthwhile for whole-house projects or non-standard openings.
Why Replace Your Window Frames?
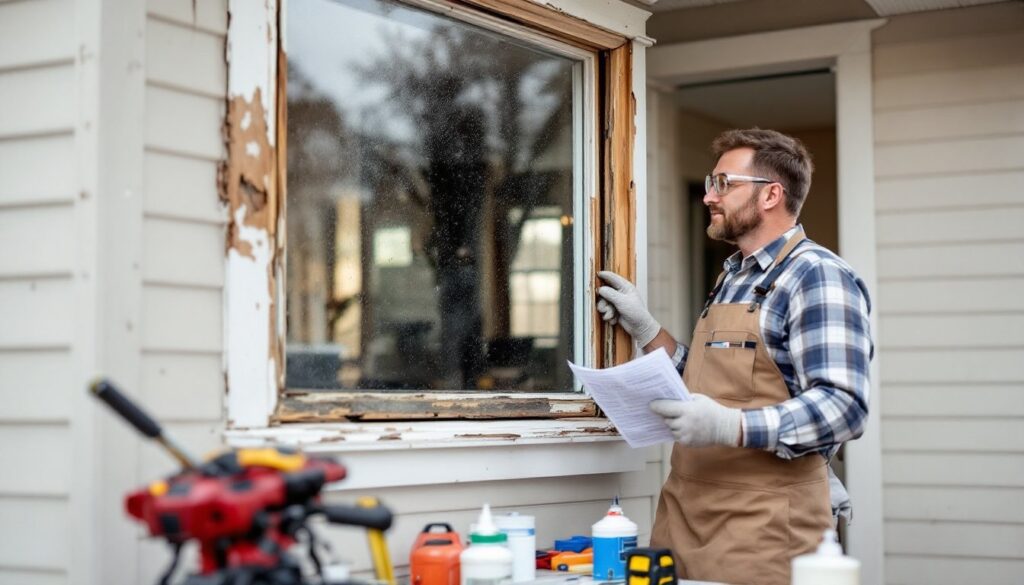
Signs Your Frames Need Replacement
The most obvious indicator that your frames need attention is visible rot or decay, soft spots, discoloration, or wood that crumbles when you press it. This typically starts at sills and the bottom of jambs where water pools. If you see daylight around a closed window or feel drafts on a windless day, the frame is no longer sealing properly. Moisture damage inside the frame pocket (the space between the interior trim and exterior sheathing) is often the point of no return: once the structure is compromised, sealing it up temporarily won’t solve the underlying issue.
Other red flags include:
- Stuck or difficult-to-operate sashes that won’t slide smoothly
- Condensation trapped between double-pane glass (failed seal on the glass unit itself)
- Visible separation between the frame and wall, or gaps that expand and contract seasonally
- Decay spreading to the surrounding wall or sill
Once rot reaches the frame’s structural members, the studs and header, a simple patch won’t work. You’re looking at a full window replacement or, in worst cases, structural repair.
Energy Efficiency and Cost Savings
Older windows, especially single-pane or original-equipment frames, lose an enormous amount of conditioned air. Modern replacement windows with low-emissivity (Low-E) glass coatings and insulated frames can cut your heating and cooling costs by 10–30%, depending on your climate and how many windows you replace. The payback period varies by region, but in colder climates, upgrading 5–10 windows often pays for itself in 7–10 years through reduced utility bills.
Beyond energy savings, new frames eliminate drafts, reduce outside noise, improve indoor comfort, and can boost your home’s resale value. The psychological benefit matters too, working windows that open smoothly and don’t rattle during storms make a home feel more secure and livable.
Choosing the Right Window Frame Material
Vinyl, Wood, Aluminum, and Fiberglass Options
Your frame material choice affects durability, maintenance, cost, and aesthetics. Vinyl is the most popular and affordable option for replacement windows. It doesn’t rot, requires no painting, and provides decent insulation when the frame is multi-chambered (air pockets inside the frame profile). The downside: vinyl can become brittle in extreme cold and isn’t ideal if you live in a high-UV climate where color fading is a concern. Expect vinyl frames to last 20–30 years.
Wood frames offer classic aesthetics and superior insulation value, but they demand ongoing maintenance, regular painting or staining to prevent rot and moisture penetration. A well-maintained wood frame can last 40+ years, but neglect shortens that dramatically. Wood also costs 2–3 times more than vinyl. If you choose wood, invest in quality primer and exterior-grade paint: skimping on finish work will cost you later.
Aluminum frames are strong and thin, which means larger glass areas and a modern look. But, aluminum conducts heat readily, making it a poor insulator unless the frame includes a thermal break (an insulating barrier between the interior and exterior aluminum). Aluminum rarely rots but can corrode in coastal environments. It’s commonly used in commercial or modern residential applications.
Fiberglass is the strongest option and offers excellent insulation when engineered with hollow chambers. It resists rot, UV fading, and extreme temperatures better than vinyl or wood. The trade-off is cost, fiberglass frames run 20–40% more than vinyl. They’re ideal for demanding climates or high-performance applications.
For most homeowners, vinyl provides a balance of cost and performance. If budget allows and you value longevity and minimal maintenance, fiberglass or wood (with commitment to upkeep) are solid choices. When evaluating products, check the U-factor (lower is better for insulation) and Solar Heat Gain Coefficient (SHGC) ratings to match your climate zone. The differences between insert and full frame window replacement also depend on your frame material: The Basics of Replacement Windows explains these distinctions clearly.
DIY Window Frame Replacement vs. Professional Installation
Full window replacement is doable as a DIY project if you have carpentry experience, the right tools, and patience for careful measuring and shimming. But, many homeowners underestimate the difficulty. Mistakes in installation, improper flashing, inadequate shimming, or incorrect caulking, lead to water intrusion, drafts, and callback repairs that cost more than hiring a pro from the start.
Professional installers bring speed, warranty coverage, and the muscle memory to handle unexpected surprises (hidden rot, out-of-square openings, structural issues). They also have liability insurance and can navigate permit requirements if your area mandates inspections for window work.
If you’re replacing one or two windows and you’re comfortable with carpentry, a full frame window replacement is manageable with careful prep and attention to detail. For a whole-house project or if your openings are non-standard, hiring professionals typically saves frustration and ensures long-term performance. Most reputable window companies offer installation as part of the package, and the labor cost, usually 50–100% of the window price, often protects your investment better than saving that money and risking a botched job.
Permits are another factor. Some jurisdictions require permits for window replacement: others don’t. Check with your local building department before starting. A permit might seem like red tape, but it ensures work meets code and can protect your insurance coverage if problems arise later.
Step-by-Step Replacement Process
If you decide to DIY a full window replacement, here’s the workflow:
1. Measure and Order
Measure the width, height, and depth of your opening at least three points (top, middle, bottom for width: left, right, center for height). Openings are rarely square or plumb, so expect some variation. Order your replacement window slightly smaller than the largest measurements to allow for shims and adjustments, typically 1/2 inch smaller in width and height is standard. Confirm delivery dates well ahead: most replacement windows have a 2–4 week lead time.
2. Remove the Old Window
Work from inside first if possible. Use a pry bar to gently separate the interior trim (casing and sill) from the jambs. Once trim is off, cut the nails holding the frame in place with a reciprocating saw fitted with a metal-cutting blade, or use a multi-tool oscillating blade. Carefully lift the old frame out in one piece or disassemble it in sections. Be cautious of broken glass and sharp edges.
3. Inspect and Repair the Opening
With the old frame out, check the rough opening for rot, structural damage, or debris. If you find soft or wet wood, cut it out and install new blocking or studs as needed. This is non-negotiable, the new frame will only perform as well as its base. If you discover significant rot, consider calling a contractor: structural repairs may be necessary.
4. Flash and Seal
Before the new frame goes in, install weather-resistant barrier or house wrap in the opening if none exists. Proper flashing, a metal or membrane system that sheds water to the exterior, is critical. This Old House has that are worth reviewing. Apply a sill pan (a pre-formed waterproof pan that sits under the new frame) or fabricate one from metal or membrane material. Caulk corners and seams with exterior-grade sealant.
5. Set and Shim the Frame
Have a helper on hand: windows are cumbersome and easily damaged. Slide the new frame into the opening, checking for level and plumb frequently. Use shims, wood wedges, behind the frame at key points (corners, mid-points, and under any bearing load). Insert shims from outside if accessible, or from inside if the frame has a nailing flange on the exterior. Tap shims gently with a hammer, checking level and plumb after each adjustment. Avoid over-tightening: the frame should fit snugly without bowing.
6. Secure and Caulk
Once the frame is plumb, level, and square, drive nails or screws through the nailing flange or frame edges into the studs. Space fasteners 12–16 inches apart around the perimeter. After the frame is secured, caulk all exterior joints with quality exterior caulk rated for movement (typically 100% acrylic or urethane), not silicone, which doesn’t accept paint. Interior caulk can be paintable latex: exterior requires a more durable product.
7. Interior Trim and Finishing
Insulate the gap between the frame and rough opening with expanding foam sealant (low-pressure, to avoid bowing the frame), then trim out the window with casing, apron, and sill on the interior. Paint or stain as desired. Exterior trim typically isn’t needed if the frame has a nailing flange, but some windows benefit from a brick mold or exterior casing for weather shedding.
Tools You’ll Need:
- Pry bar and hammer
- Reciprocating or multi-tool saw
- Level (24–48 inches long)
- Tape measure and pencil
- Drill with bits
- Caulk gun
- Shim shingles
- Safety glasses and work gloves
- Caulk, sealant, and flashing materials
Safety First:
Worn-out or lead-paint windows are common in older homes. If your home was built before 1978, assume lead paint. Wear an N95 or P100 mask, use wet-cleaning methods to minimize dust, and follow EPA guidelines for lead-safe practices. Falls from windows or ladders are also a serious risk: work from inside when possible, or use a sturdy ladder with a spotter. Bob Vila’s guides offer that complement this process.
Replacement doesn’t happen overnight, and patience in measuring, flashing, and shimming pays dividends. Rushing leads to rework and frustration.
Wrapping Up Your Window Replacement
Window frame replacement is an investment in comfort, efficiency, and structural integrity. Whether you go full DIY or hire professionals, the key is starting with an honest assessment of the scope, are you replacing one frame or ten?, and the skill level required. Don’t shy away from professional help if the job feels overwhelming: a poorly installed window costs far more to fix than it did to install correctly the first time. Plan ahead, measure twice, and your home will be warmer, quieter, and more durable for years to come.