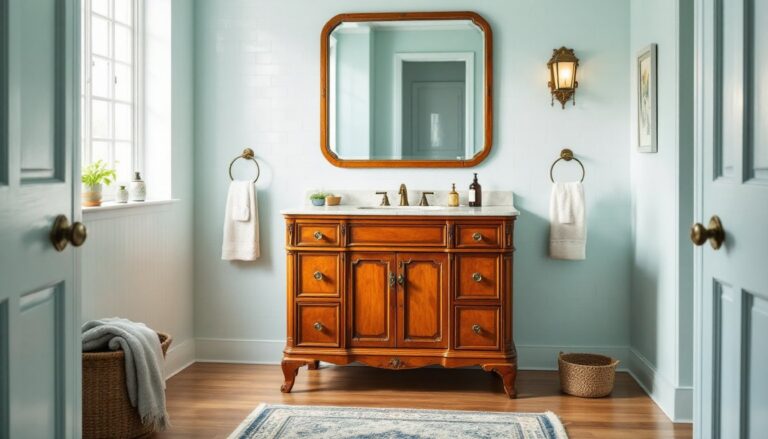
A black kitchen backsplash has become a hallmark of contemporary design, offering homeowners a bold way to anchor their cooking spaces. Whether you’re renovating a dated kitchen or refreshing tired walls, a black backsplash brings depth, sophistication, and visual interest without requiring a full overhaul. The beauty of a kitchen with black backsplash lies in its versatility, it works with minimalist cabinetry, warm wood tones, stainless steel appliances, or eclectic décor. This guide walks you through why a black kitchen backsplash makes sense, what materials deliver the look you want, and how to pair it with other design elements for a cohesive result. If you’re considering this upgrade, understanding your options upfront will help you make a decision that suits both your budget and your home’s aesthetic.
Table of Contents
ToggleKey Takeaways
- A black backsplash kitchen brings visual depth and sophistication while working seamlessly with minimalist, warm wood, or industrial design styles.
- Black tile is practical for daily cooking—it hides fingerprints and splatters better than light finishes while maintaining a timeless, age-resistant aesthetic.
- Subway tile remains the most popular and affordable black backsplash material ($1–$3 per tile), but natural stone and textured ceramic offer premium alternatives with different maintenance demands.
- Pair a black backsplash with white or cream cabinetry for high contrast, warm wood tones for warmth, or light countertops to balance the dark tile and prevent a heavy visual impact.
- Proper wall preparation, moisture-resistant cement board in wet areas, and annual grout sealing are essential steps to ensure your black backsplash installation lasts and looks pristine.
Why Choose a Black Backsplash for Your Kitchen
A black kitchen backsplash delivers visual contrast that makes other kitchen elements stand out. Light cabinetry pops against black tile: natural wood takes on warmth and depth. Black also masks fingerprints and splatter far better than white or light finishes, which is practical in a space where you’re cooking daily.
From a design perspective, black is neutral in the way that true neutrals should work, it doesn’t compete for attention but grounds the entire room. It bridges style eras: black backsplash ideas range from ultra-modern farmhouse to sleek contemporary to industrial loft. The material you choose (glossy subway tile versus matte ceramic, for example) shifts the mood without changing the color.
Black backsplashes also tend to age gracefully. Unlike trendy pastels or saturated jewel tones, black won’t feel dated in five years. If you’re planning to stay in your home or invest in a renovation that adds lasting value, this staying power matters. Finally, a black backsplash is a contained visual commitment, you’re updating one surface, not the whole kitchen, which means you can test bold design moves at a lower risk and cost than, say, repainting all your cabinetry.
Popular Black Backsplash Materials and Styles
Subway Tiles and Modern Finishes
Subway tiles, those classic 3″ × 6″ rectangles, remain the most popular choice for a black kitchen backsplash. They’re affordable (typically $1–$3 per tile), durable, and simple to install with standard thinset mortar. A glossy finish reflects light and emphasizes seams: a matte finish feels more understated and hides grout lines better in low light.
Beyond traditional subway, you’ll find textured finishes, beveled edges, and handmade varieties that add character. Subway tiles also stack in different patterns, running bond (staggered), stacked, or herringbone, which changes the visual rhythm without changing the material. Expect grout cleanup and resealing every 2–3 years: dark grout shows dust, while light grout brightens the pattern.
Natural Stone and Textured Options
Black granite, slate, or marble backsplash options offer a premium look but come with trade-offs. Slate is porous and requires regular sealing. Polished granite can feel slippery underfoot (less relevant for a vertical surface, but matters for visual heaviness). Honed or flamed finishes are less slippery-looking and hide fingerprints better than polished.
Hexagonal tiles, small mosaics, and textured ceramic create visual interest and depth in ways flat subway tiles don’t. Resources like Houzz’s curated black backsplash collection showcase how texture and pattern variation, from geometric to organic, elevate a simple color choice into a design statement. Textured materials do trap dust, so they demand more frequent wiping and aren’t ideal if you prefer minimal cleaning. Installation costs rise with materials that aren’t uniform or require custom cuts.
Design Pairings That Complement Black Backsplashes
A black kitchen backsplash works best when paired thoughtfully with surrounding finishes and tones. White or cream cabinetry creates the highest contrast and a clean, Scandinavian aesthetic. Warm wood tones (oak, walnut, cherry) pair beautifully with black tile, especially when your countertops echo the wood or introduce a neutral stone like beige or gray granite.
Stainless steel appliances complement black backsplashes without conflict, they’re both cool, modern, and industrial. But, if your appliances are white or cream, consider a glass or metal accent strip between the tile and countertop to transition the visual weight. Your countertop material matters too: dark quartz or granite can feel heavy with black tile, so lighter counters (white, gray, or light wood) help balance the dark backsplash.
Grout color shifts the impact significantly. Black or dark gray grout emphasizes the tile shape and pattern: light grout (white or cream) minimizes seams and creates a more seamless look. Consider lighting, too. Black absorbs light, so kitchens with limited natural light may feel cave-like with a black backsplash unless you add under-cabinet lighting or pendant lights. Bright, north-facing kitchens carry off black backsplashes with ease. Sites like The Kitchn and Remodelista offer kitchen design inspiration that shows black backsplashes in real homes, helping you visualize how different pairings work in lived-in spaces.
Installation and Maintenance Tips
Before you begin, confirm your wall is flat and sound. Backsplash tile requires a stable substrate, if your drywall is damaged, wavy, or textured heavily, repair or skim-coat it first. Check local building codes: kitchens near water often require cement board (like Durock or HardieBacker) instead of drywall for moisture resistance, especially behind ranges. This adds cost but prevents long-term water damage.
Gather: thinset mortar (not mastic for a kitchen backsplash, it’s too weak), a notched trowel (typically ¼” × ⅜” for subway tiles), a grout float, a wet saw or angle grinder with a diamond blade for cutting tile, and safety gear: eye protection, work gloves, and a dust mask if you’re cutting stone.
Measure and dry-lay your tile first. Start from the center of your range and work outward to avoid awkward thin slivers on the edges. Use plastic spacers (typically ¼” or ⅜”) to keep grout lines consistent. Apply mortar in small sections: it dries fast. Press tiles firmly, checking level as you go. After 24 hours, apply grout, pushing it deep into seams, and wipe excess with a damp sponge. Seal grout after it cures (typically 3 days) and re-seal annually for dark-colored grout to resist staining.
Maintenance is straightforward: wipe spills promptly, avoid abrasive scrubbers on glossy finishes, and reseal grout yearly. Black tile hides dust well but shows water spots, so dry the backsplash after splashing to keep it looking pristine.
Conclusion
A black kitchen backsplash is a practical, stylish investment that transforms your cooking space without overwhelming it. Whether you opt for classic subway tile, natural stone, or textured ceramic, the key is matching the material and finish to your home’s light, cabinet color, and your tolerance for maintenance. Plan your layout, prepare your walls properly, and don’t skip the grout seal, these steps separate a DIY win from a project you regret. If installation feels beyond your comfort level, hiring a tile professional is money well spent: a poorly laid backsplash is visible every day.